Some slopes are too steep for a single wall. When the grade change is more than 4–5 feet, or when the lot layout requires usable flat space at multiple levels, a tiered system is almost always the better answer — structurally and aesthetically. Here's how they work, why they outperform single tall walls, and what to expect on a North Shore property.
We build tiered systems across Long Island's North Shore regularly — on the kinds of glacially carved hillside lots in Huntington, Lloyd Neck, Cold Spring Harbor, and Nissequogue where a single 8-foot wall would be both a structural challenge and an eyesore. Done right, a tiered system turns a problem slope into genuinely usable outdoor space.
Why tiers instead of one tall wall
The instinct is often to build one tall wall and be done with it. That instinct runs into three problems:
Engineering cost scales exponentially with height
A 4-foot wall is relatively straightforward. A 6-foot wall requires geogrid soil reinforcement and usually a permit. An 8-foot wall requires a licensed engineer's stamp, deep geogrid layers, and a significantly larger base. The cost per linear foot roughly doubles between 4 feet and 8 feet — not because there's twice as much block, but because everything behind and below the wall has to be engineered to match. Two 4-foot tiered walls cost meaningfully less than one 8-foot wall and achieve the same grade change.
Drainage is easier to manage in tiers
A single tall wall concentrates all the water pressure at one point. A tiered system spreads drainage across two or three levels, with each tier's bench acting as an interceptor that slows and redirects water before it reaches the next wall down. On Long Island's North Shore, where heavy storms and clay-heavy soils are common, this matters a lot. Spreading drainage over multiple tiers is one of the most reliable ways to build a wall system that handles a nor'easter without bulging.
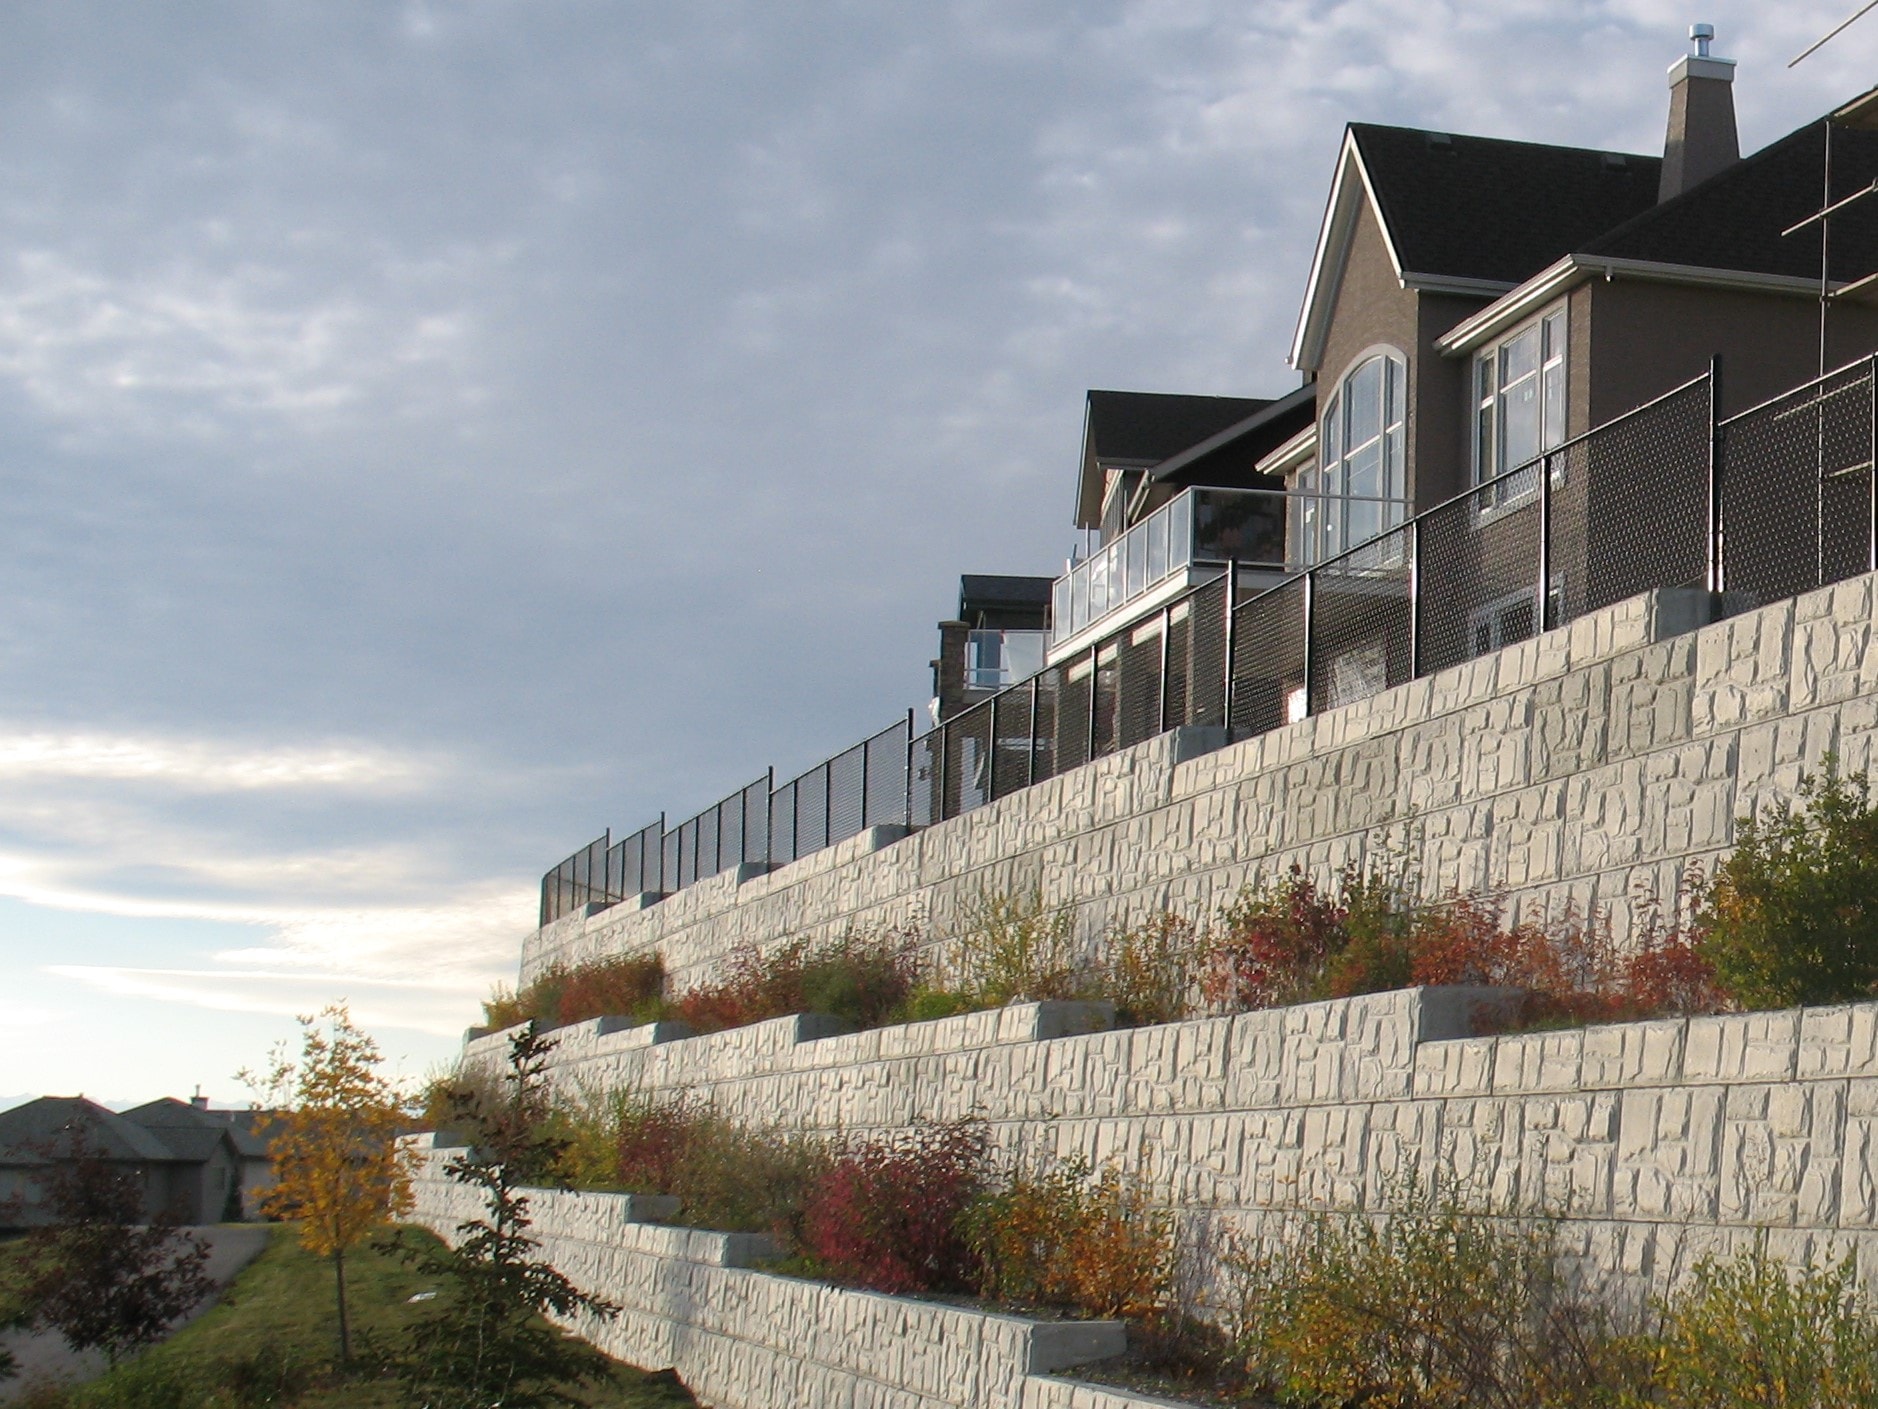
You get usable space
The bench between tiers — the flat area between one wall's top and the next wall's base — is usable land. Wide enough, it becomes a planting bed, a garden path, a patio level, or just a maintenance access strip. Homeowners who start the project thinking about erosion control often end up with landscaped terraces they didn't expect. It's one of the better transformations we get to do.
How tiered systems are designed
The key rule is setback: each upper tier must be set back far enough from the lower tier that the two walls don't interfere structurally. The standard engineering guideline is a setback equal to twice the height of the lower wall. So if the lower wall is 4 feet tall, the upper wall's base needs to be at least 8 feet behind the lower wall's face.
Violate the setback and the soil wedge that both walls are trying to hold becomes shared — meaning each wall is working against the other rather than independently. We've rebuilt several tiered systems that were installed too close together and failed within a few years for exactly this reason.
On tight lots where the full setback isn't achievable, a structural engineer can calculate a reduced setback — but it requires the walls to be designed as a system with shared load assumptions, not as two independent walls. That's a different (more expensive) design process, but it's the right way to handle a constrained site.
Material choices for tiered systems
Tiered systems don't require both walls to use the same material, though consistency usually looks better. Here's how the common combinations play out:
Cambridge or Nicolock block throughout
The most common setup on Long Island's North Shore. Consistent look, straightforward drainage detailing, and the blocks can be spec'd to handle surcharge if the upper tier is near a lawn or patio that sees foot traffic. Good choice for most residential properties.
Stone lower wall, block upper wall
Works well when the lower wall is the visible focal point — facing a street, a pool, or a main outdoor living area — and the upper tier is more of a functional grade break at the top of the slope. Stone at the base adds visual weight and permanence; block on the upper tier keeps cost down where it matters less aesthetically.
All natural stone
The highest-end option and the longest-lasting when built correctly. Dry-laid stone tiered systems in particular have an informal, organic quality that suits North Shore properties well. The limitation is cost and skilled labor — dry-laid stone is a craft, and good stone masons are harder to schedule than block crews. Expect a premium of 40–70% over an all-block system of the same dimensions.
What a tiered project costs
A two-tier system handling a 6–8 foot total grade change on a typical North Shore lot runs roughly:
- Two-tier Cambridge/Nicolock system (each wall 3–4 ft, 40 linear feet): $18,000–$32,000 installed
- Two-tier natural stone system (same dimensions): $28,000–$50,000 installed
- Three-tier system handling 10–12 ft grade change: Add 40–60% to the two-tier price
These numbers include excavation, base prep, drainage at each tier, block or stone, geogrid where required, and backfill. They assume reasonable site access. Permit fees and engineering stamps — typically required when any individual wall exceeds 4 feet — are additional.
Planting and finishing the benches
The flat bench between tiers is one of the first things clients ask about. The short answer is: plant it. A bare compacted bench between two walls sheds water directly onto the lower wall's back face. Planted benches — even just a ground cover — absorb runoff, add organic matter that keeps the fill from compacting hard, and dramatically improve the look of the finished system.
Low-maintenance options that work well on North Shore properties include creeping juniper, pachysandra, ornamental grasses, and native ferns. Avoid anything with aggressive root systems close to the wall face — deep taproots can work their way into block joints over time.
If the bench is wide enough for a path or patio (generally 6 feet or more), a simple bluestone or gravel path between tiers adds a lot of usability and keeps foot traffic off the planted areas. We often add that as a finishing detail on larger projects — it tends to be the element homeowners remember most.
What to ask your contractor
Before signing a contract for a tiered system, get clear answers to these questions:
- What is the setback between the two walls, and how was it calculated? If the answer is "it looks about right," keep looking.
- How is drainage handled at each tier? You want a perforated pipe at the base of each wall with a clear daylight outlet, not just gravel dumped behind the block.
- Is a permit required, and who pulls it? Any wall over 4 feet in most North Shore municipalities needs a permit. A contractor who says otherwise is either wrong or hoping you won't ask at resale.
- Is the quote itemized? A tiered system is complex enough that you deserve a line-by-line breakdown — materials, drainage, excavation, and permit costs separated out.
We're happy to walk through any of these questions on a free estimate. Tiered systems are some of the most satisfying projects we do — the transformation from an unusable hillside to a functional, planted terrace is dramatic, and on Long Island's North Shore lots, it often adds more usable outdoor space than anything else you could do with the same budget.