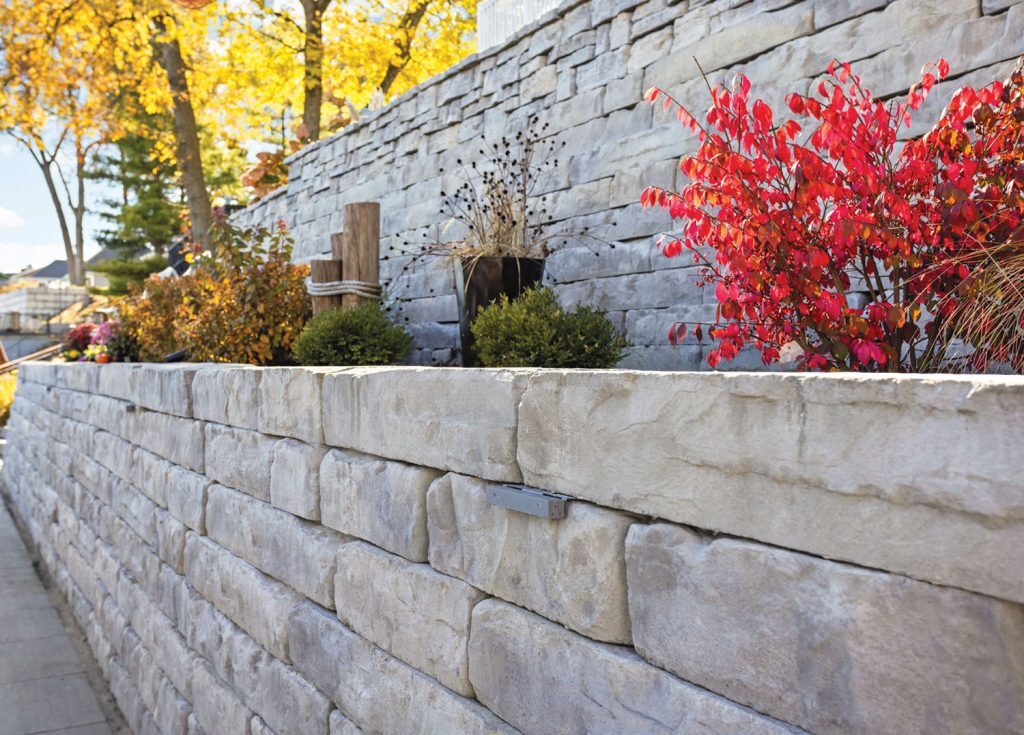
A properly built retaining wall is low-maintenance — not no-maintenance. The good news is that the maintenance it does need takes about twenty minutes, twice a year, and costs nothing. The bad news is that the homeowners who skip those twenty minutes are the ones calling us four years early for a repair that runs into the thousands.
Almost every wall we tear out failed slowly, and it sent warning signs the whole way down. Maintenance is really just learning to read those signs early — while a fix still costs a tube of caulk and an afternoon instead of a rebuild. Here's the simple, season-by-season routine we give every customer when we hand off a finished wall.
The two things that actually kill walls
Before the checklist, understand what you're protecting against. On Long Island's North Shore, two forces do almost all the damage:
- Water. Saturated soil weighs more and pushes harder. If drainage clogs or surface water starts pooling behind the wall, every storm becomes a stress test. Most of maintenance is really just keeping water moving the way it was designed to.
- Frost. Our winters freeze and thaw repeatedly. Water that sits in the soil or in joints expands when it freezes, and that pressure works blocks loose over time. Keeping water out keeps frost from getting leverage.
Notice that both come back to water. Keep water moving and your wall will outlive you. Let it pool, and the clock starts.
Spring checklist (after the last frost)
Spring is the most important check of the year, because it tells you how the wall came through winter — the hardest season for any wall on the Island.
Walk the face and look for movement
Stand back ten feet and look down the length of the wall. It should be straight and plumb. What you're hunting for is any new lean, bulge, or section that's pushed out further than the rest. A wall that grew a belly over the winter is telling you that frost and water got behind it. Catch it now and it's often a localized repair; ignore it and the belly spreads.
Check the drainage outlets
Find where your wall's drain pipe daylights — the open end where water is supposed to exit. After a rain, water should trickle from it. If it's bone-dry during a wet week, or buried under mulch and leaves, the drainage behind the wall may be backing up. Clear the outlet so it can breathe.
Look for frost heave at the base
Check that the bottom course hasn't lifted or shifted off the footing. Small gaps that opened over winter sometimes settle back; ones that don't are worth a phone call.
Summer checklist (the easy season)
Summer is mostly about keeping growth and water in check.
Pull or treat woody plants in the joints
Grass and small annuals in a wall face are cosmetic. Woody plants — saplings, vines, anything with a real root — are not. Their roots widen joints and pry blocks apart over years. Pull them while they're small. Never let a volunteer tree establish itself in or directly behind a wall.
Aim your sprinklers and downspouts away
Summer is when irrigation runs daily. Make sure no sprinkler head is spraying the soil directly behind the wall, and that roof downspouts discharge well away from it. A downspout dumping behind a wall every storm is one of the most common causes of premature failure we see — and one of the easiest to fix.
Re-establish the slope above the wall
The ground above the wall should pitch away from it so surface water heads elsewhere. Over time, settling or landscaping can reverse that pitch and start funneling water toward the wall. A few wheelbarrows of soil to restore positive slope is cheap insurance.
Fall checklist (before the first freeze)
Fall maintenance is about getting the wall ready to go into winter dry.
Clear leaves from drains and the top of the wall
Fallen leaves clog drainage outlets and surface drains fast. A drain that's choked with wet leaves going into winter is a drain that won't work when the spring thaw arrives. Keep outlets and any swales clear.
Check and seal caps
The cap course — and the adhesive holding it — keeps water from entering through the top of the wall. Walk the top and make sure no caps are loose. If your wall uses construction adhesive between the cap and the course below, a fresh bead every few years keeps water from working its way in and freezing.
Final drainage check
One last look at the outlets before winter. You want every path water uses to be open when the freeze-thaw cycle starts.
Winter: leave it alone, mostly
There's not much to do in winter except one thing: keep pile-up off the wall. Don't stack plowed snow against it, and especially don't pile snow loaded with road salt at its base — salt is hard on block and on plantings. Beyond that, winter is a watching season. If a wall is going to show distress, the freeze-thaw cycle is when it happens, which is exactly why the spring inspection matters so much.
When to stop maintaining and call us
Maintenance handles the small stuff. These are the signs that you've crossed from upkeep into "have someone look at it":
- A lean or bulge that's visibly worse than last year's photo.
- Soil, mud, or fine sediment washing out through the face after storms — a sign the drainage gravel is silting up behind the wall.
- A horizontal crack running along a block wall, or blocks that have shifted out of line with their neighbors.
- Standing water that won't drain behind or above the wall.
None of those mean automatic replacement — many are repairable if you catch them early, which is the whole point of a maintenance habit. The walls that become expensive are the ones nobody looked at until a section came down. Twenty minutes each spring and fall is what keeps your wall on the fifty-year track instead of the ten-year one.